CT90 Engine Restoration/Rebuild
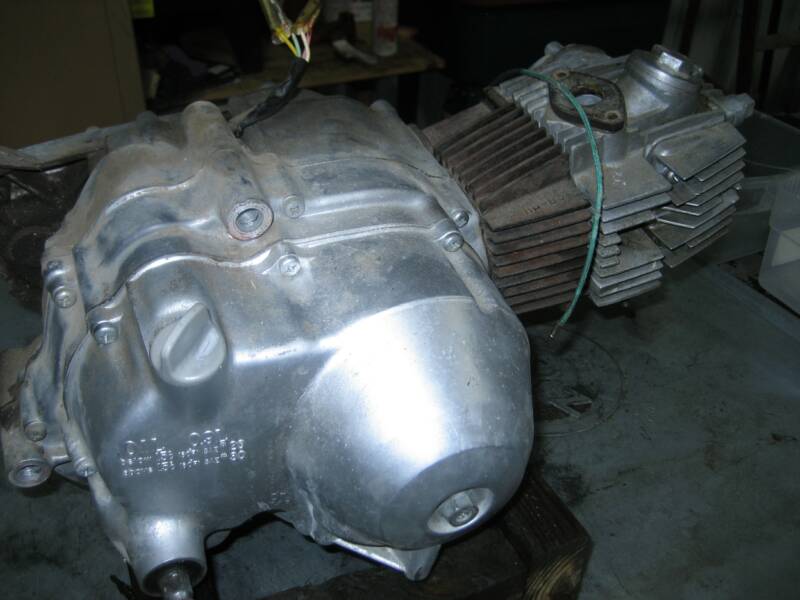
Inspect the engine for any obvious damage.
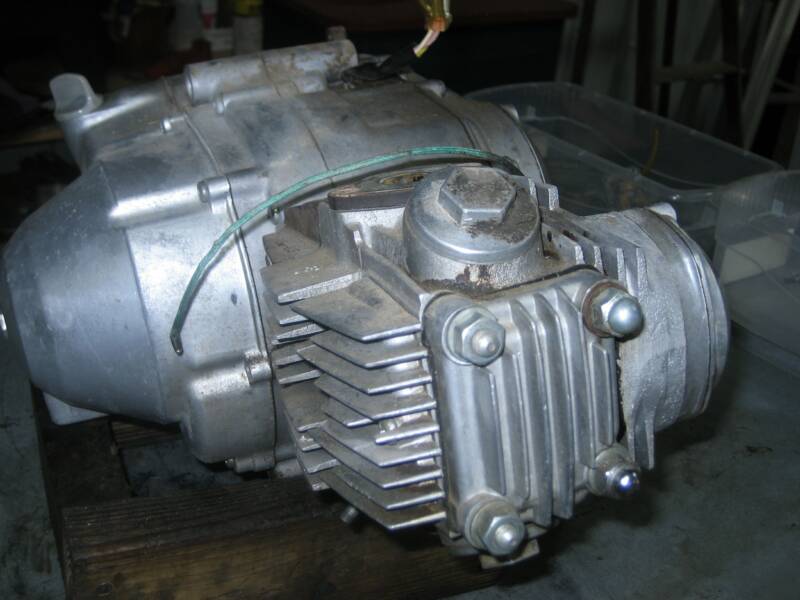
Drain the oil and place the engine on a suitable work table. We use a wooden square made from 2x4 pieces of wood.
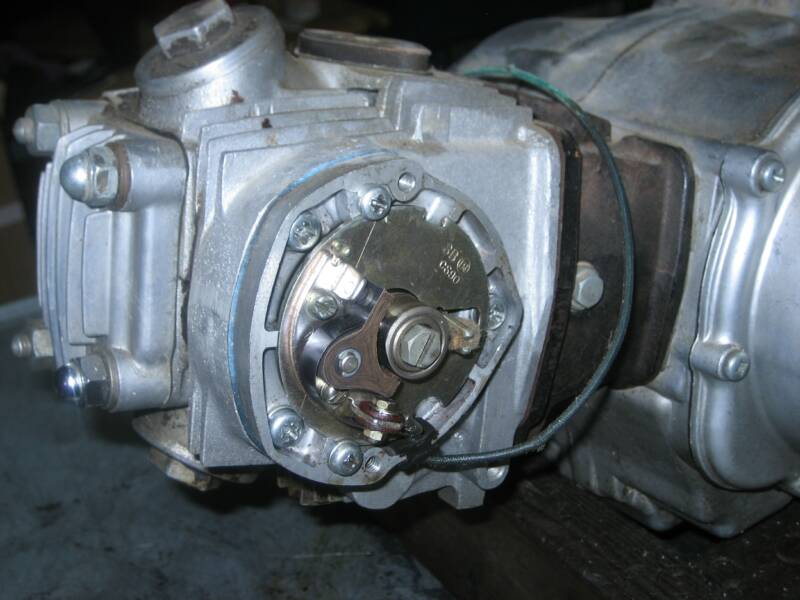
1-2 Start disassembly by removing the points cover and removing the points plate.
3-4 Remove the 10mm bolt off from the end of the advance unit and the unit should slide off easily
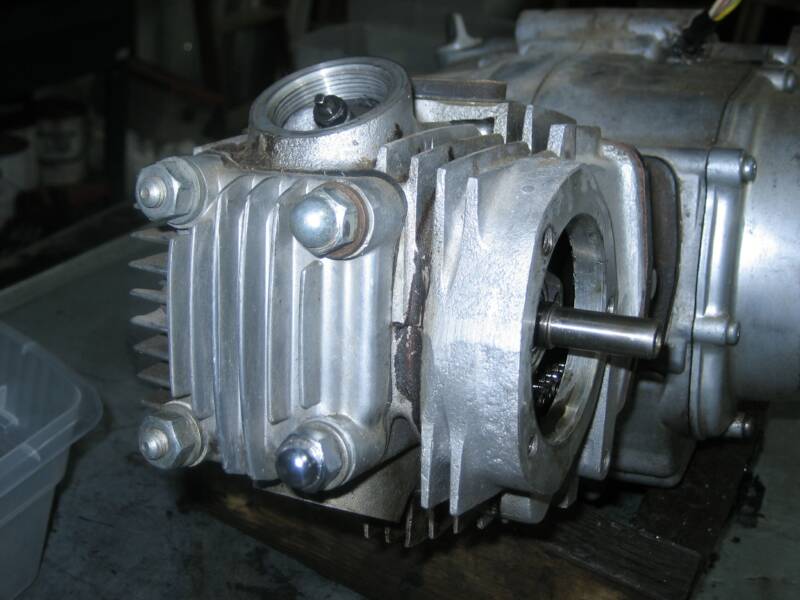
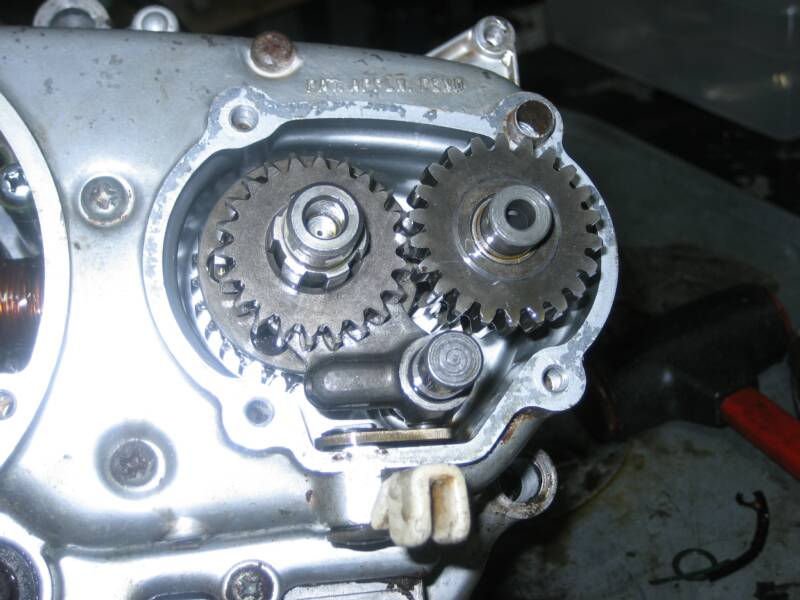
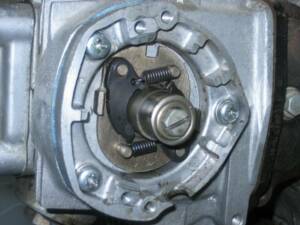
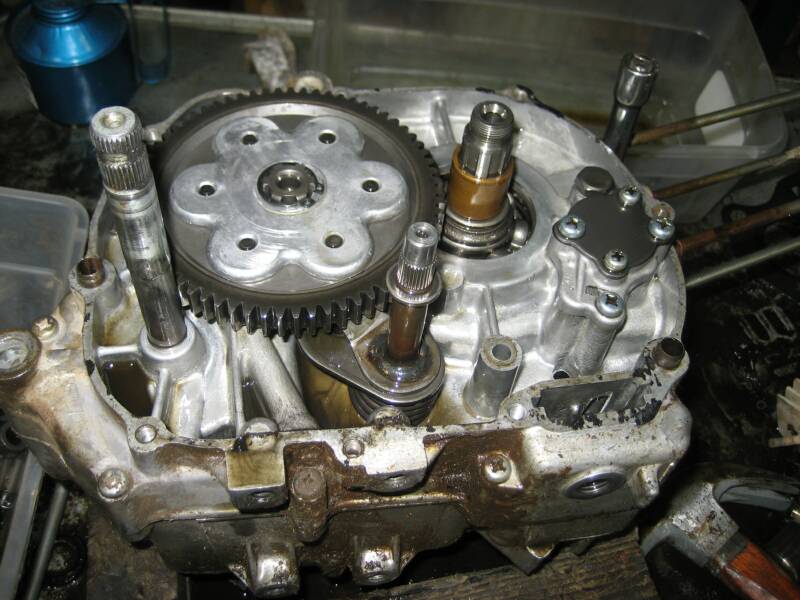
4-6 Use a 14mm socket to rotate the stator and align the "T" marks with the pointer on the lower right side of the stator, making sure the advance alignment pin as shown in picture 6 faces forward. The piston will be at TDC (Top Dead Center) This will make the removal of the camshaft very easy. Remove Camshaft.
1
4
5
6
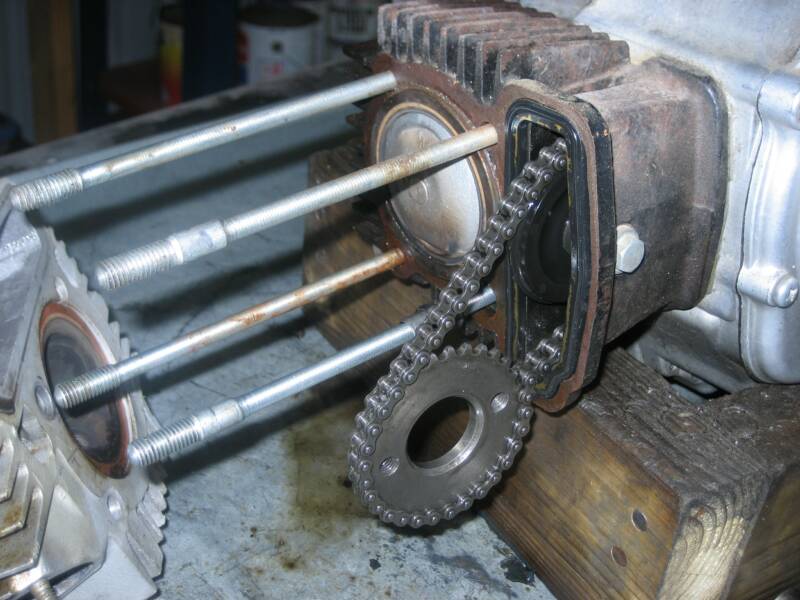
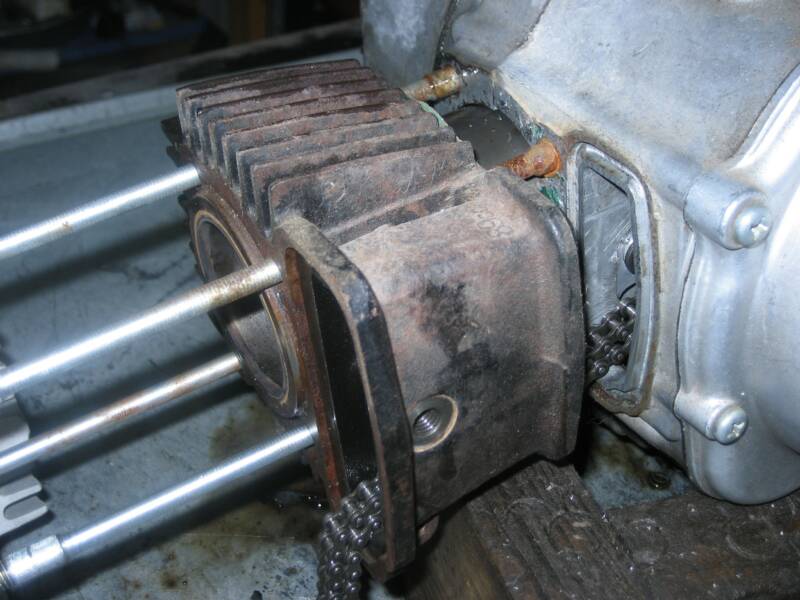
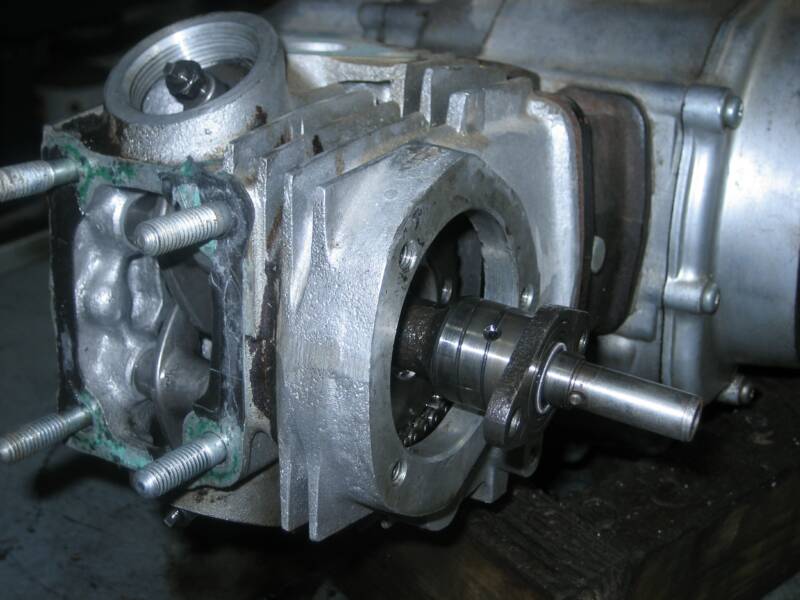
7-8 Slide off the head assembly. Remove the cam roller bolt and cam roller from the cylinder.
9-10 Remove sub transmission cover and sub transmission. Remove the engine left side cover.
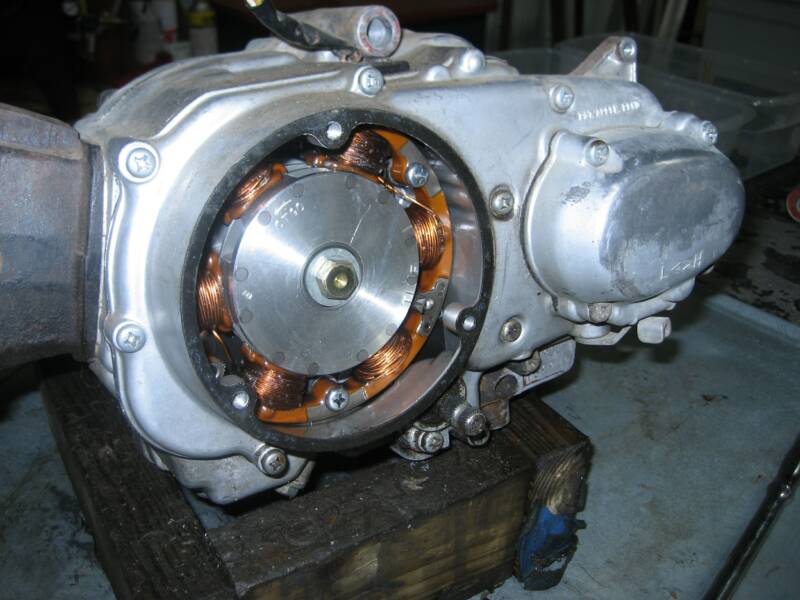
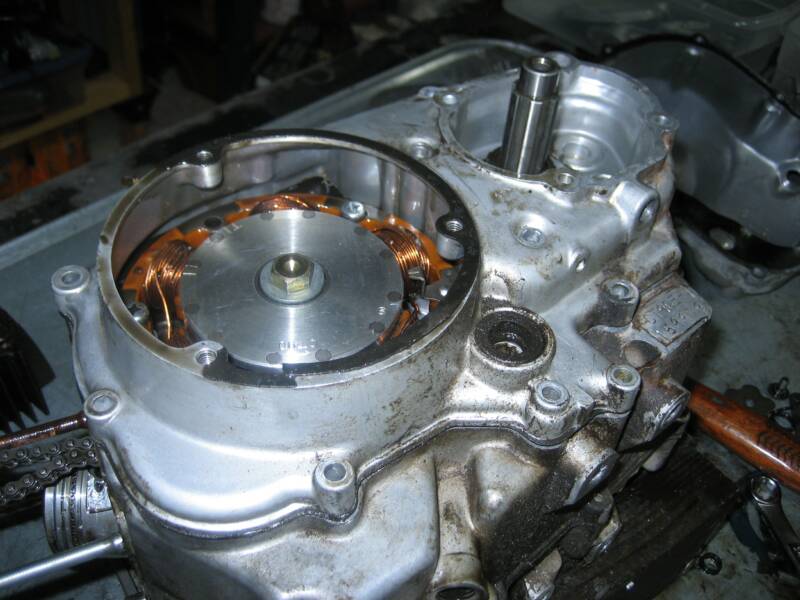
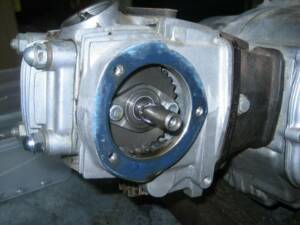
11 Remove three 6mm screws and remove the Stator. Be careful not to damage the wiring.
Unscrew the 14mm bolt holding the flywheel. It is easier to remove the bolt if you place a holding fixture under the piston to keep the piston in place.
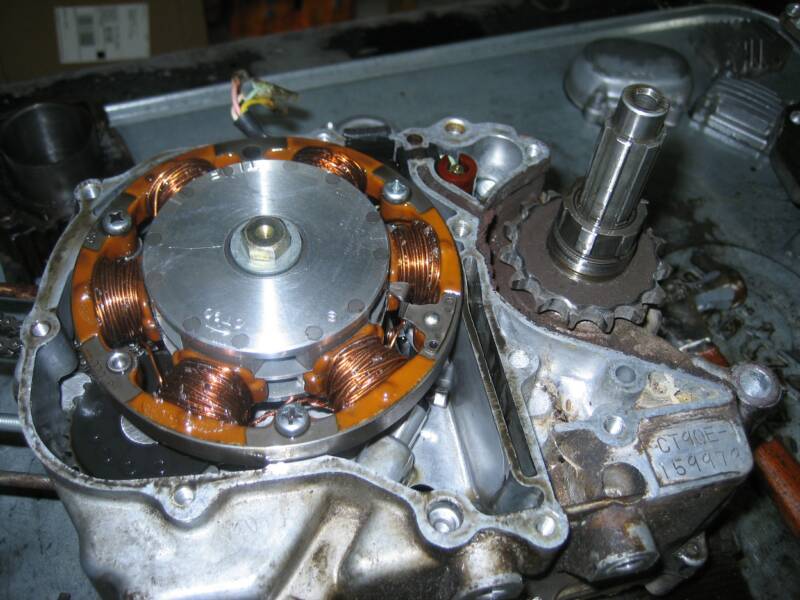
12 Remove the flywheel by using a flywheel puller.
7
8
9
10
11
12
Check back for Updates
2
3
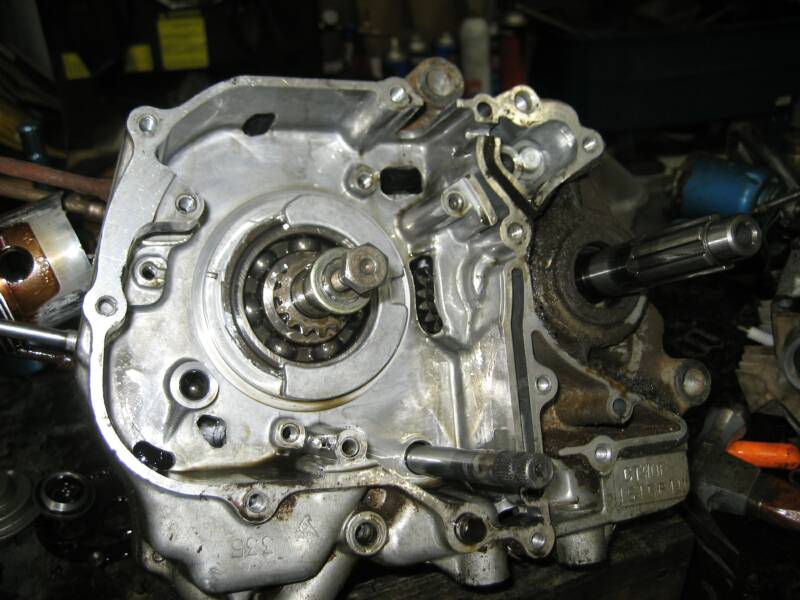

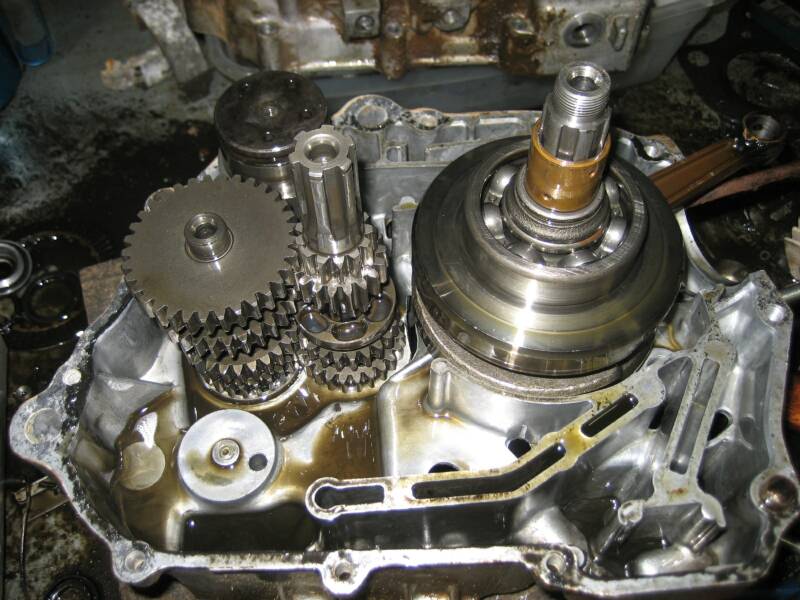
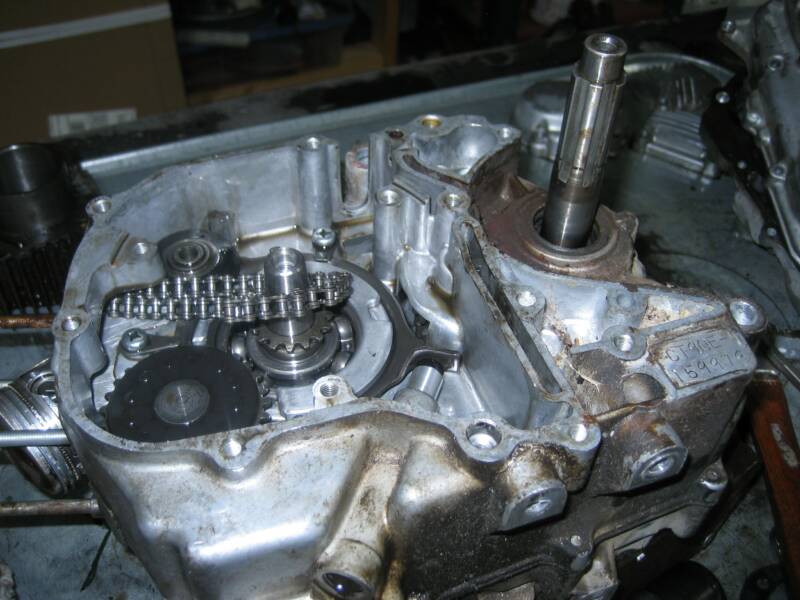
13 All the components removed from the left side.
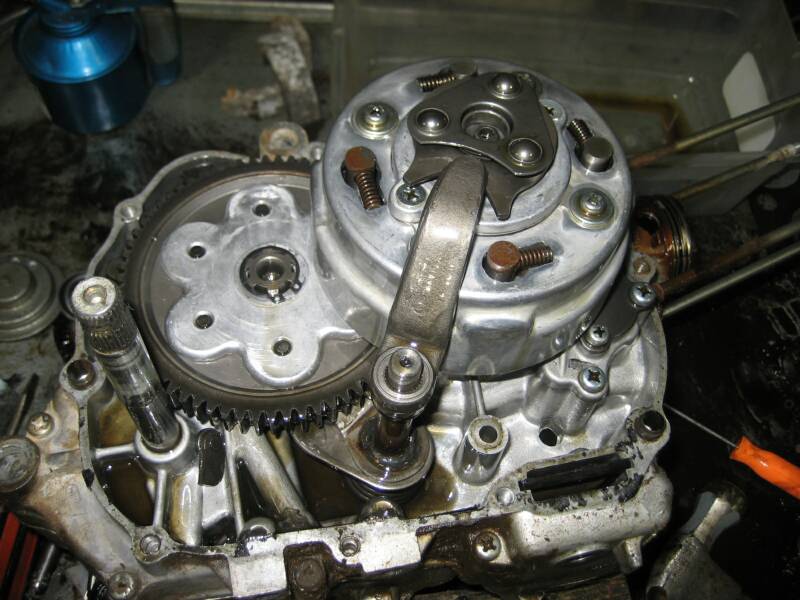
14-15 Remove Clutch cover and remove clutch mechanism and Clutch basket. You will need special clutch nut remover.
16-17 Remove shifter and oil Pump. Also remove the shift drum stopper. Cases will not split and damage can occur, if you don't remove the shift drum stopper.
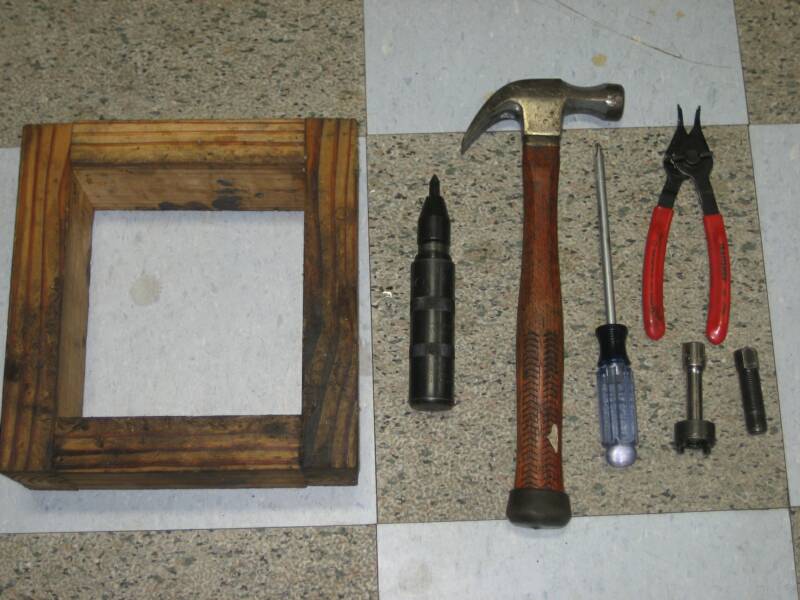
18 Some of the tools needed for engine disassembly.
13
14
15
16
17
18