CT70, Z50 Head
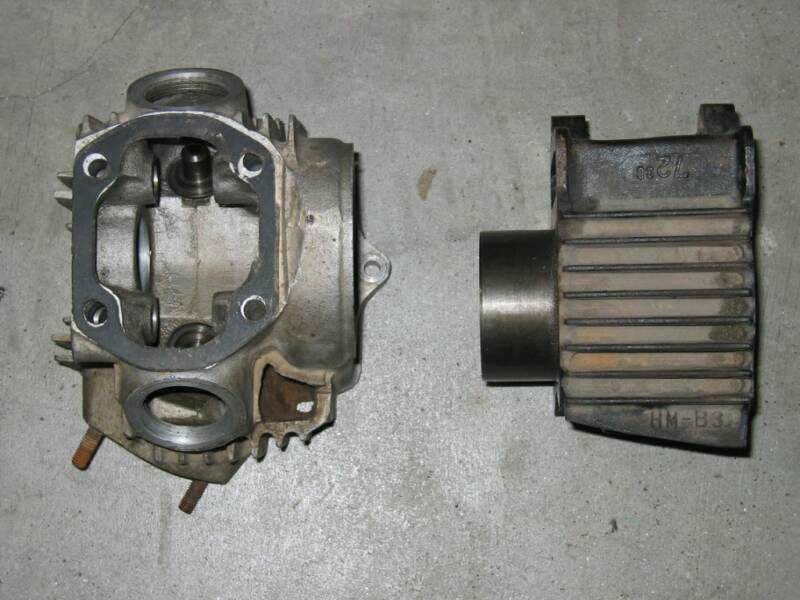
Head & Cylinder Before Cleaning. The Cylinder can be sand blasted, while the aluminum head should be cleaned with parts cleaning solution.
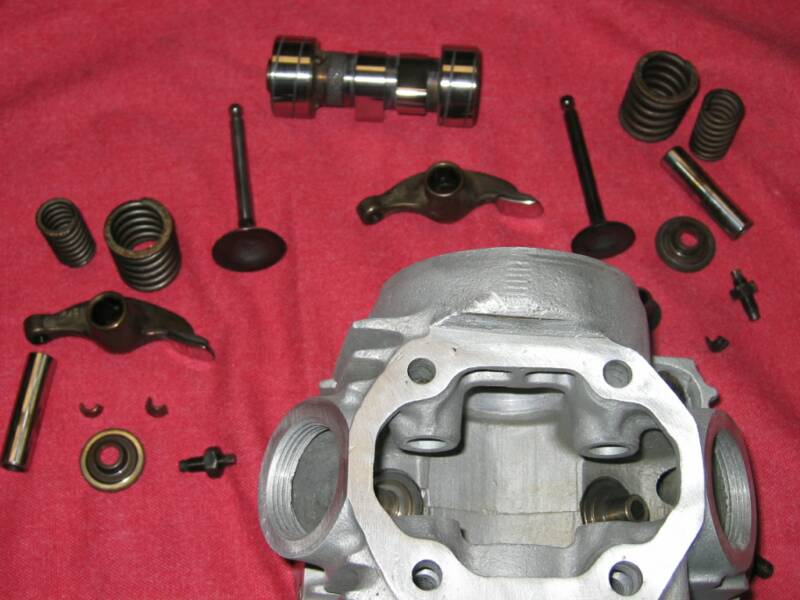
Valves, Rocker Arms and Camshaft installed. Use assembly grease on all the components. Rocker arm bearings threaded ends should face outward.
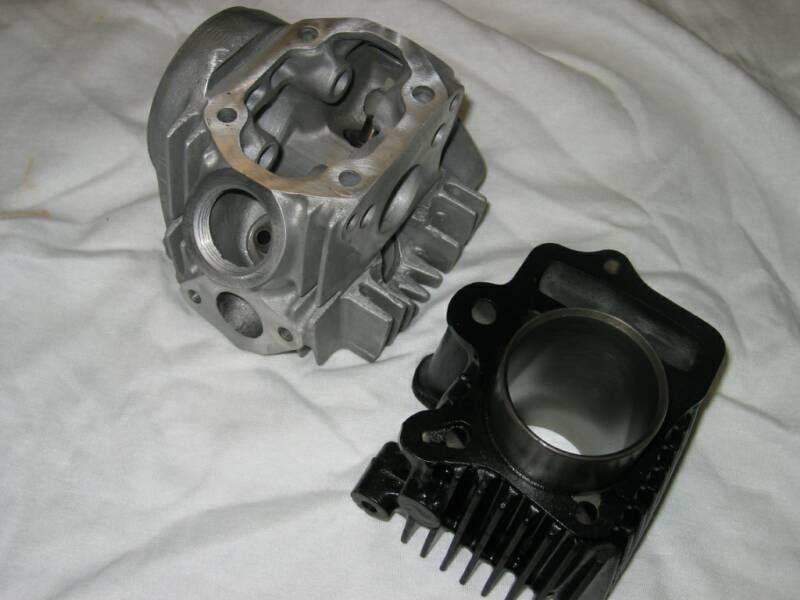
Head & Cylinder after cleaning and Painting.
The Cylinder was Sand Blasted and Painted. The gasket areas were masked.
The Cylinder was honed.
Cleaned Head with all the components. All the internal components were carefully inspected and all the contact surfaces were cleaned and polished.
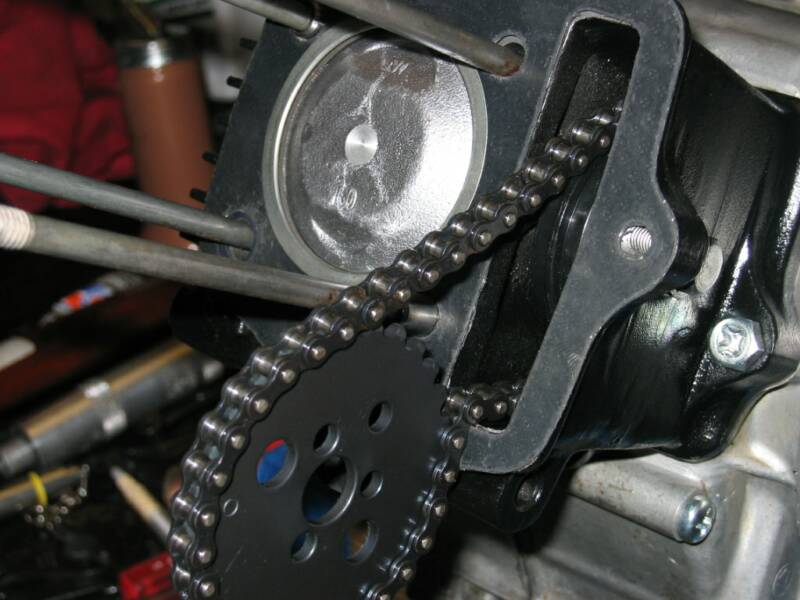
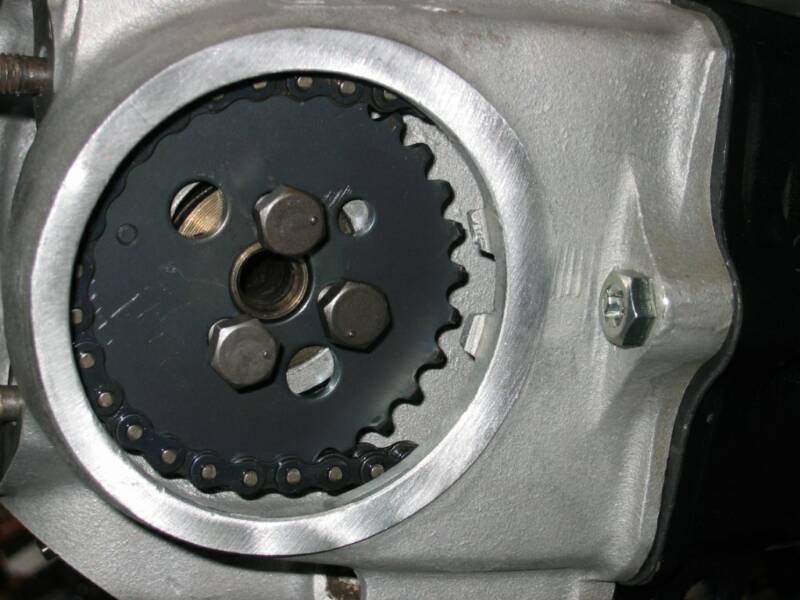
Installed Cylinder. Use "T" mark on the Stator Rotor to make sure piston is at Top Dead Center. Install the timing sprocket and chain roller on the timing chain.
Camshaft aligned with the timing sprocket. "O" on the sprocket should be in line with the notch in the front of the timing sprocket opening.
If the bottom end of your motor is in good condition and you are just trying to get the bike in running condition, rebuilding the head and cylinder is just what you need to bring the engine back to life. In some cases, if the cylinder walls and the piston is not scratched, you might be able to use them with new piston rings. However, I recommend you get a new piston and rings. You might even want to get an oversize piston and have the cylinder re-bored and honed from a machine shop. The benefits are two fold, not only you get a nice fitting Piston and Rings, you will get more power from the bigger piston.
Don't forget to use a new exhaust valve seal, or the engine will smoke!


The right side finned cover with two screws and a long bolt that holds the round cam sprocket cover on the left side of head. Notice copper washer under bolt.
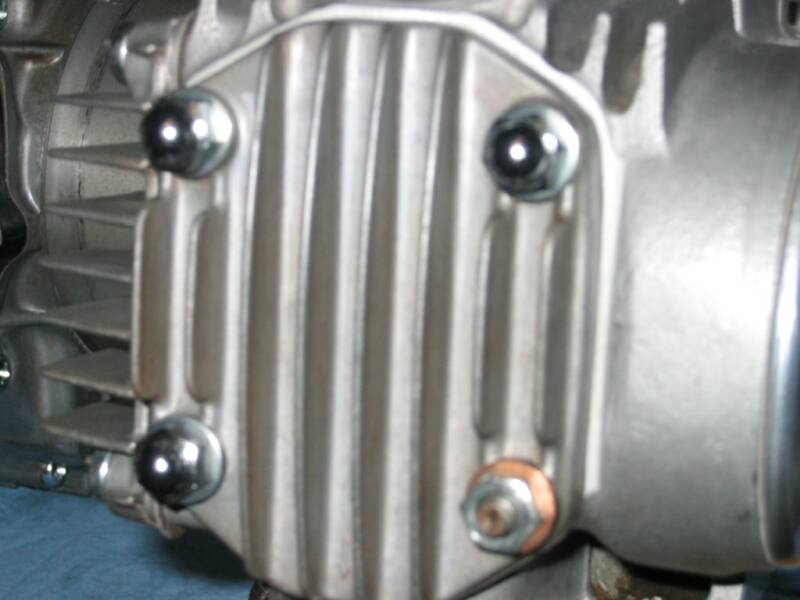
Three acron nuts with steel washers and left lower nut with copper washer.
Notice the arrow on the finned head cover faces down.
Note:
Z50 Head and Cylinder is exactly the same as the CT70. The outside dimensions are the same. The top and side covers, and the valve covers are interchangeable. The Z50 has a smaller piston, thus smaller cylinder inside diameter. The intake diameter is smaller on the Z50. The Cams are not interchangeable, since the exhaust and intake timing is different.
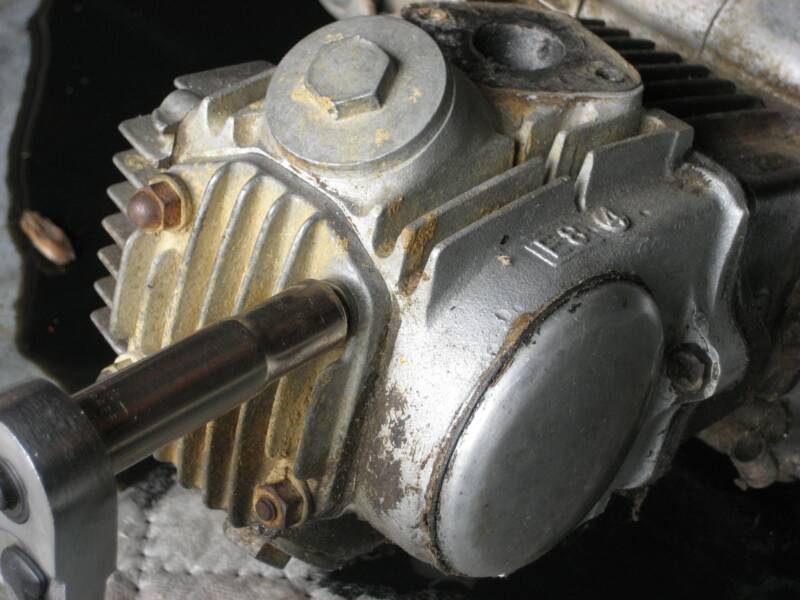
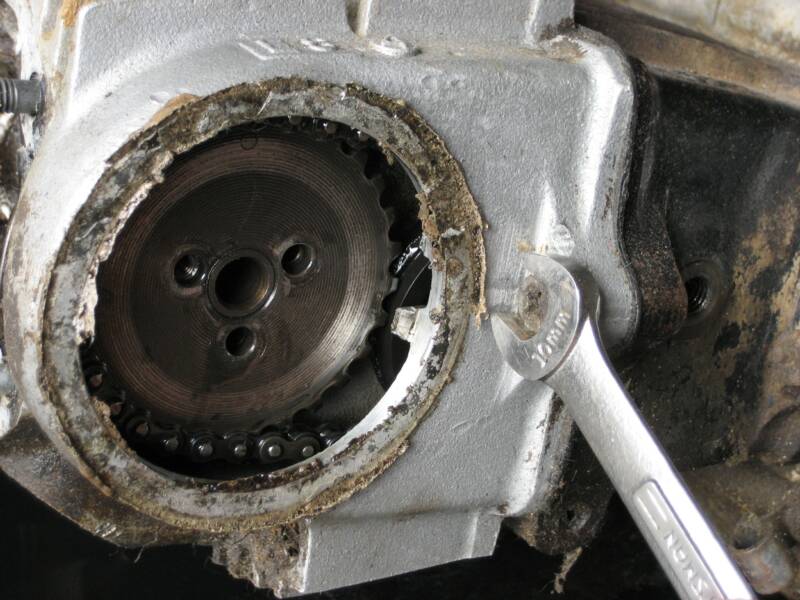
First take the 3 Acorn nuts and a 10mm hex nut from the front finned cover.
Remove the cover gently, the finns are fragile, do not hit the fins.
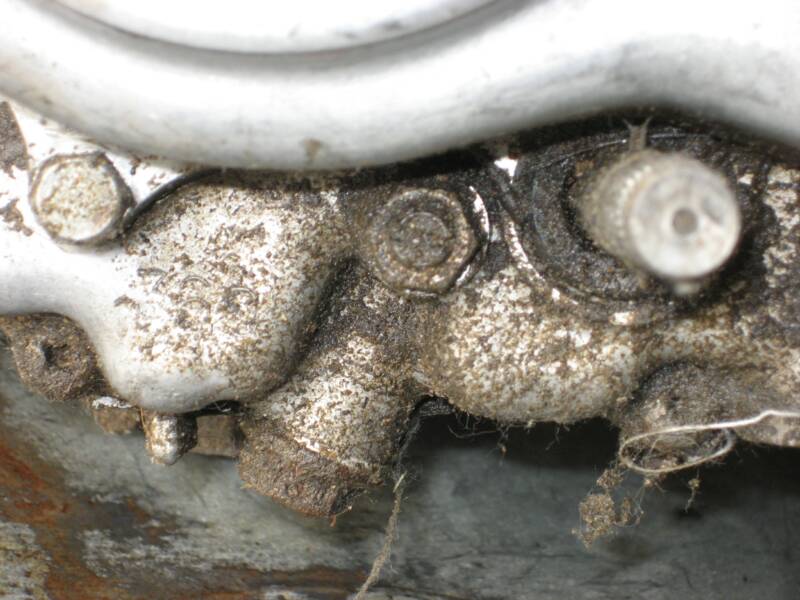
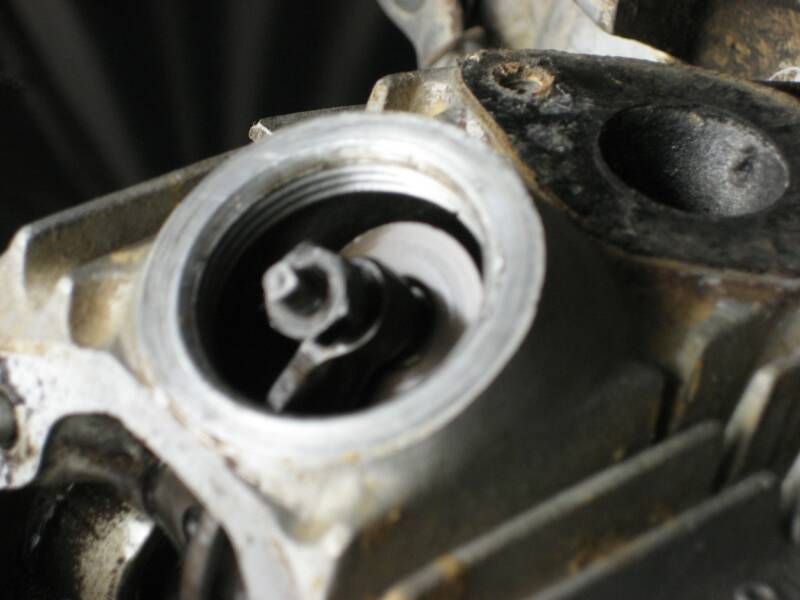
The cam tensioner lock nut is located on the left side, above the cam chain adjustment bolt.
Note: Some engines don't have the lock nut and bolt.
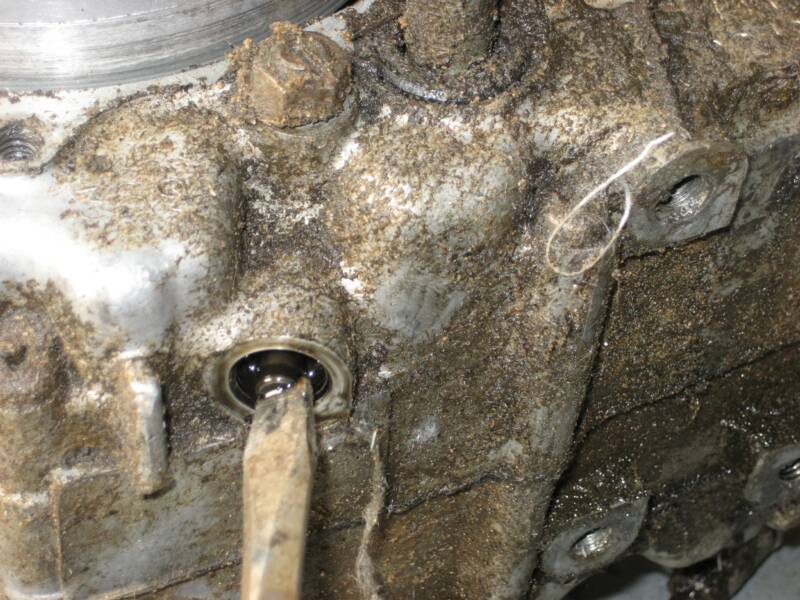
Remove the bolt on the bottom left and unscrew the adjustment screw, until it is almost out of the case. this will slacken the cam timing chain.
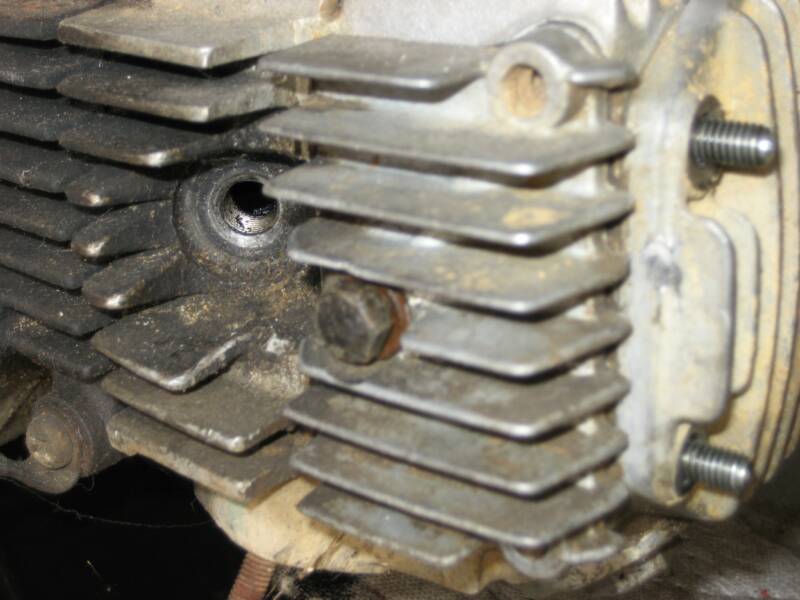
Remove the 10mm bolt from the right side partly and use a rubber mallet to strike it gently. The cam cover on the opposite side will pop out. Remove bolt.
Remove the valve covers and back off the rocker arm adjustment screw from both intake and exhaust sides.
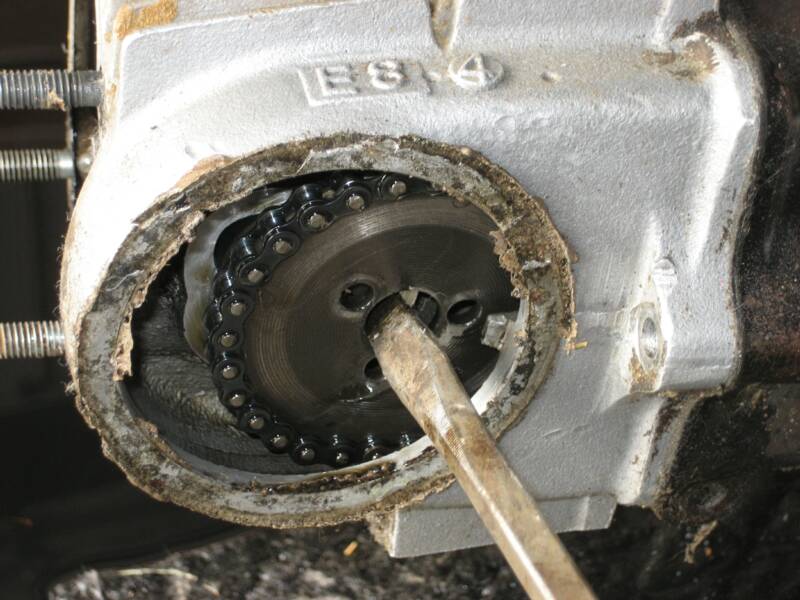
Use a 17mm socket to keep the engine from turning, then use a 9mm socket to remove the 3 cam sprocket bolts.
Remove the screw on the left side of the head.
The cam sprocket should come loose easily.
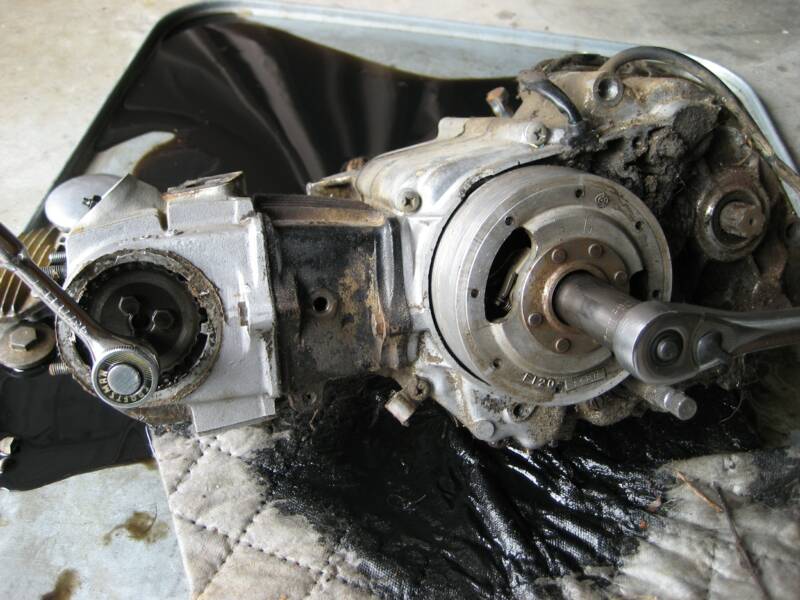
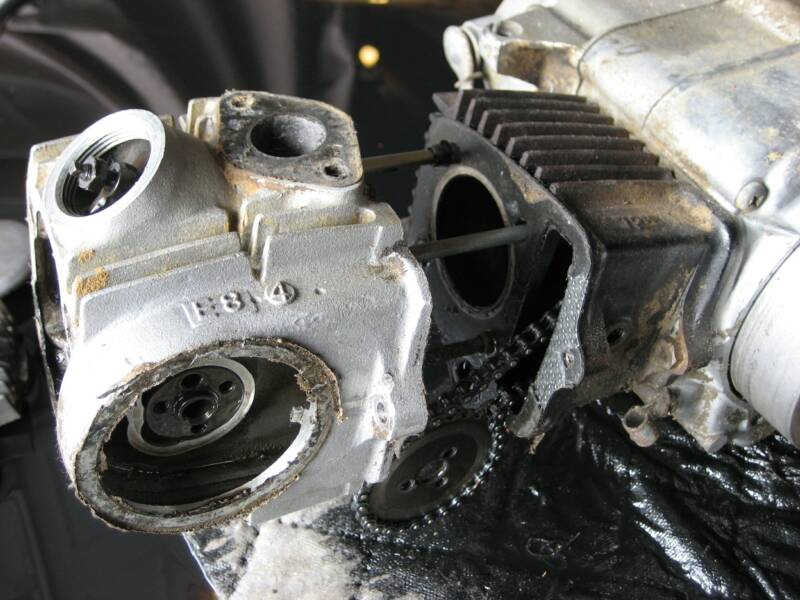
Separate and remove head from the cylinder. Not the position of the alignment dowels.
Note:
The Camshaft can only be installed one way. After you install the valves, don't install the valve adjustment screws. Slide the camshaft through the cutouts on the left side of the head.