CT70 and Z50 Auto Clutch
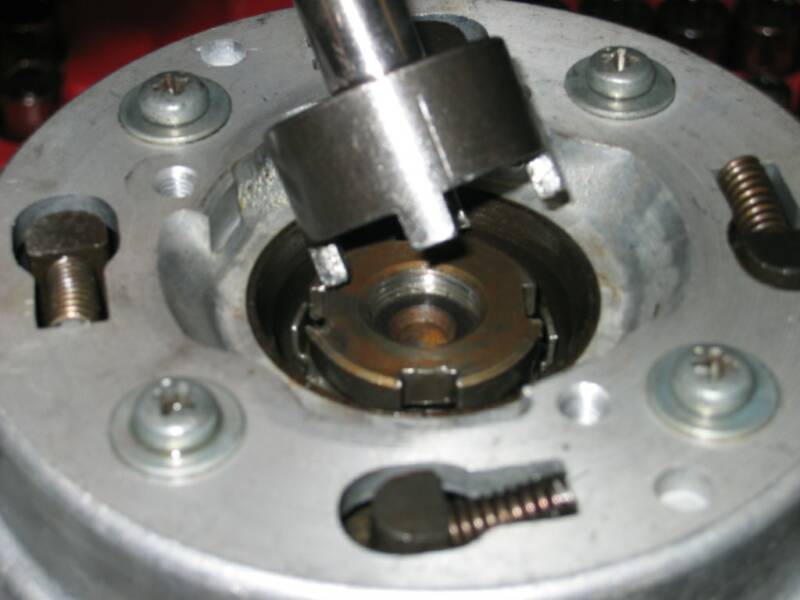
Only use the clutch nut removal tool or you will risk damaging the clutch or worse, the crankshaft. You will need the tool to reinstall the clutch anyway.
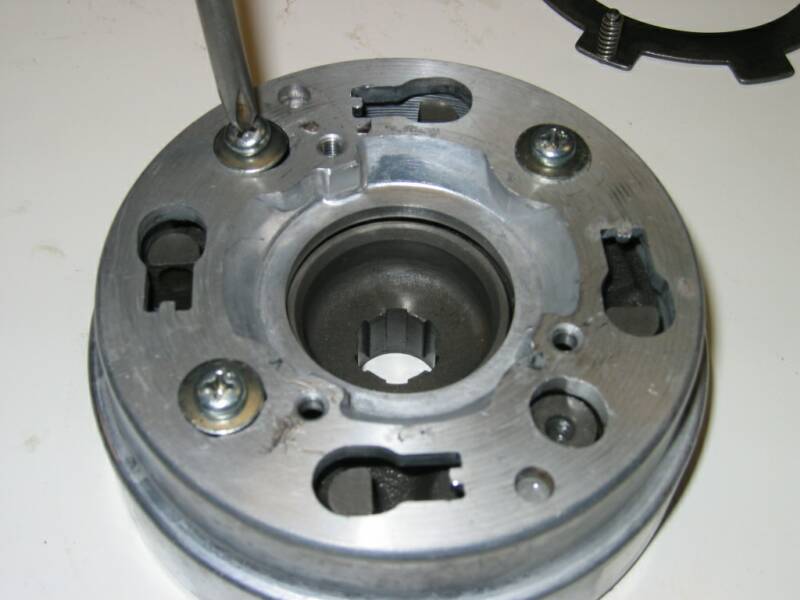
Turn the housing upside down on a sturdy work surface. Put some pressure with your fingers on the plate and use a flat screw driver to pry the snap ring.
Earlier type clutch with circlip. Circlip keeps the clutch gear in place. The later type auto clutch has no circlip and the gear can be removed easily.
Dirt/Grease buildup should be cleaned. The clutch housing can be sand blasted after clutch is completely disassembled.
After the snap ring is off, lift the retaining plate off.
Keep the parts from the clutch in order they come out of the basket.
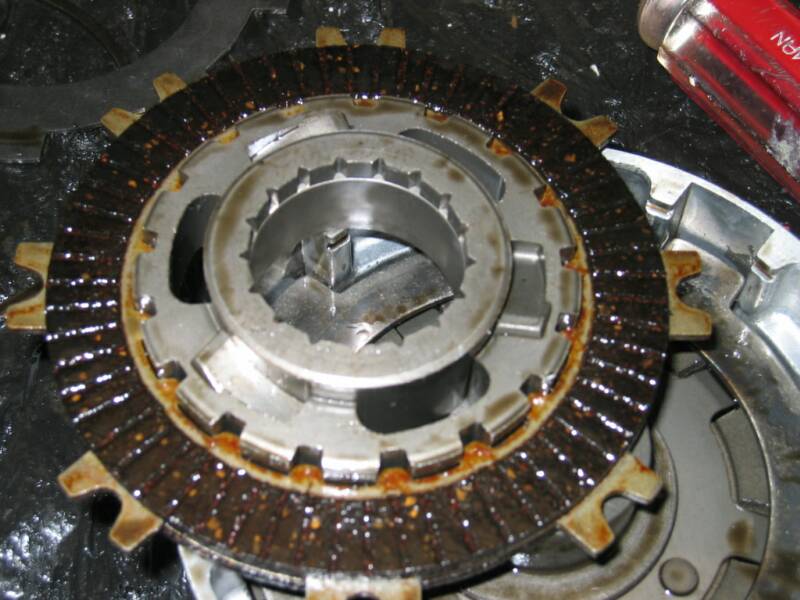
The clutch plates can be lifted together by the center gear.
The Z50 only used the 3 speed Auto Clutch. The Z50 Clutch is exactly the same and interchangeable with the CT70 3 speed Auto Clutch.
There are two types of CT70 auto clutches. The earlier type uses only two friction disks, and can be identified by a big circlip holding the clutch gear. The later type uses three friction disks. Both types of clutches operate exactly the same and are interchangeable.
The procedure for rebuilding is exactly the same for both types of clutches.
CT90 Uses auto clutch only. There are some minor differences between the CT70/Z50, and the CT90 Auto Clutch, the procedure is essentially the same as described below.

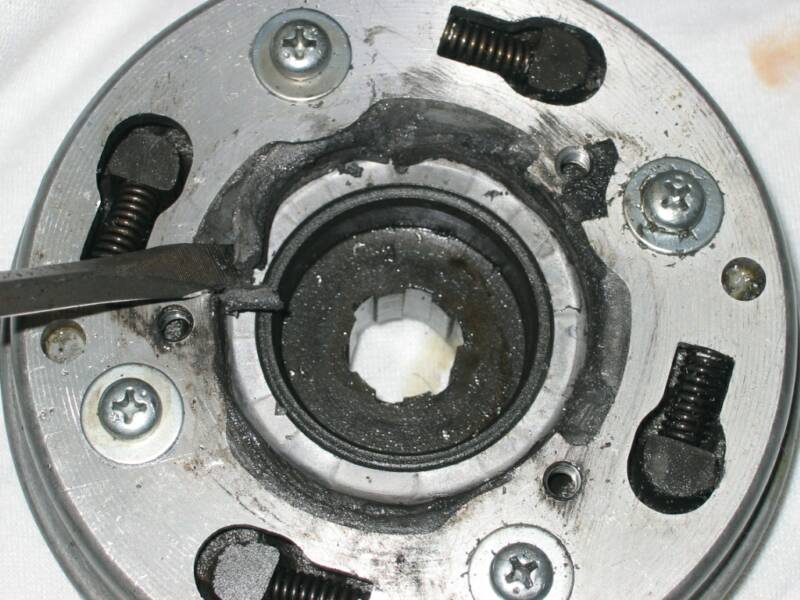
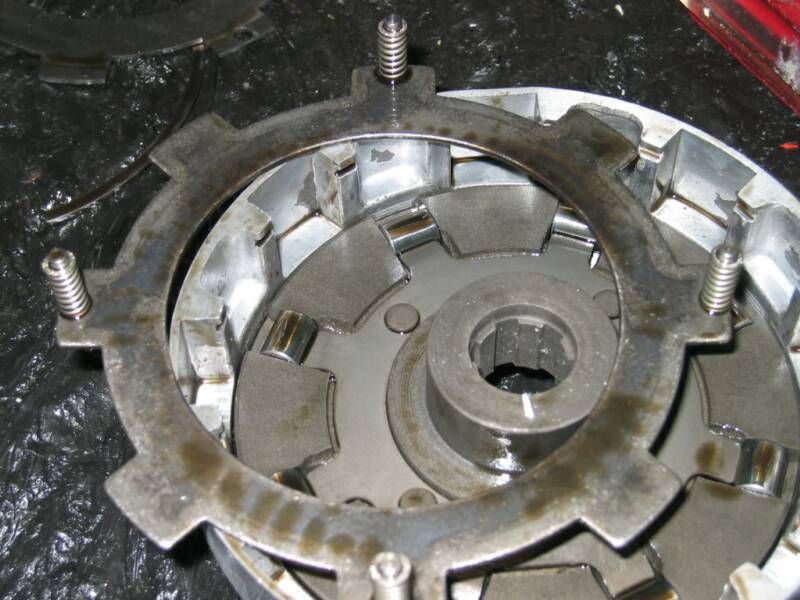
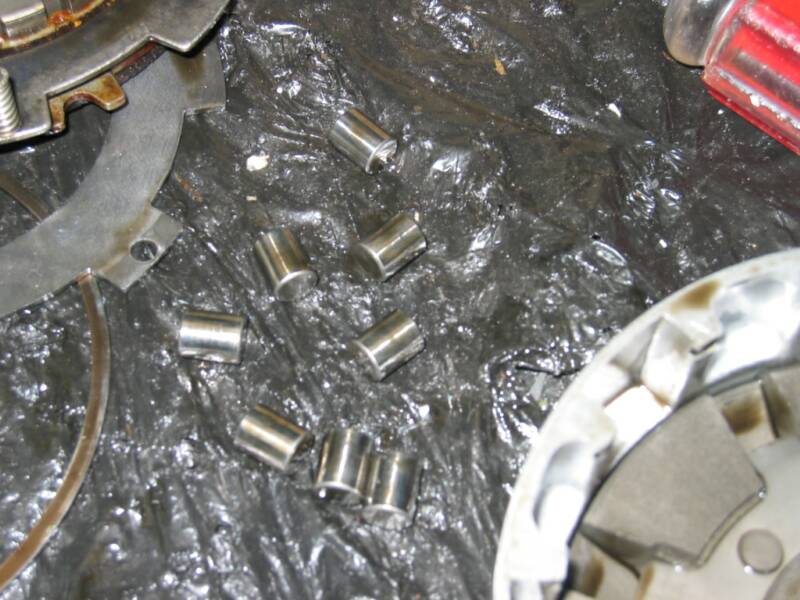
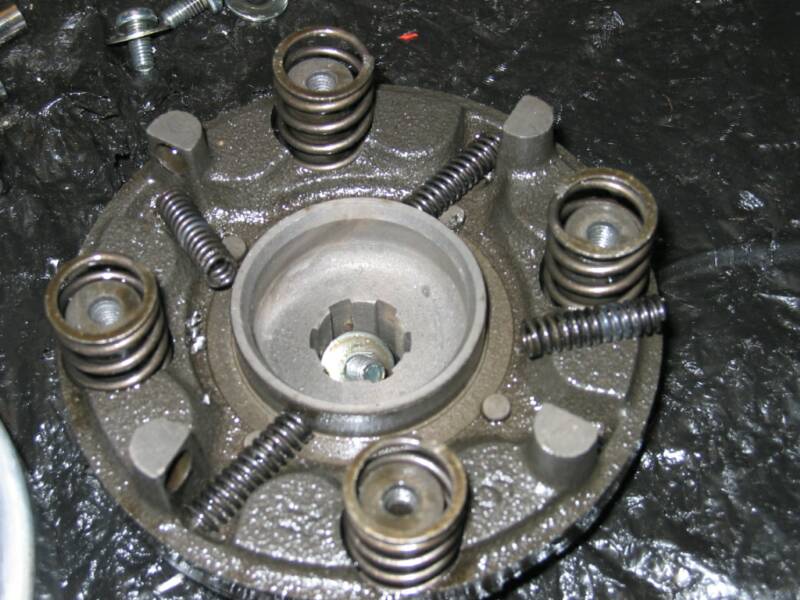
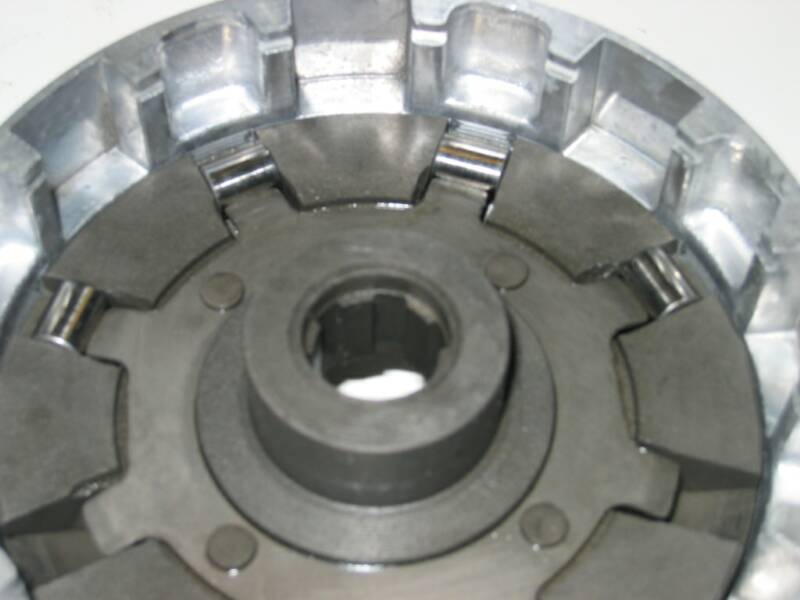
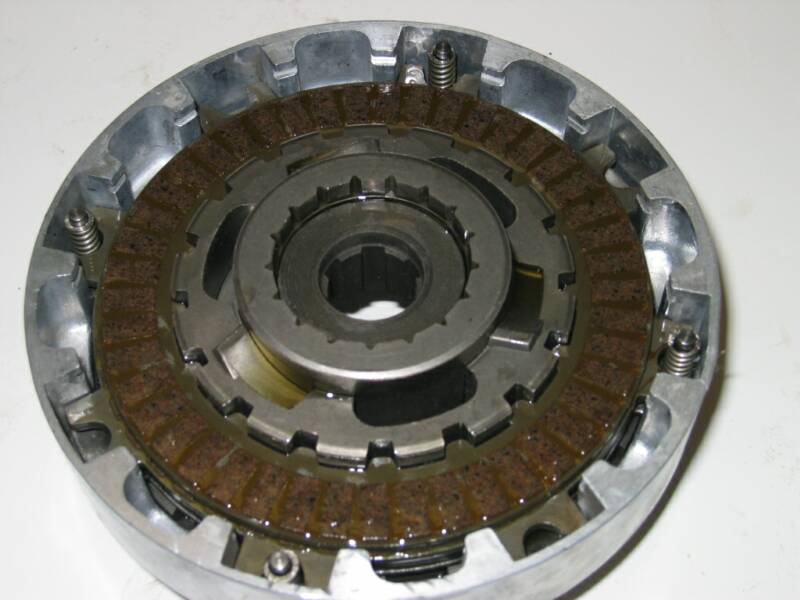
The bottom plate has four small springs on four vertical pegs. Notice eight round rollers below the bottom plate.
Make sure there is no pitting or damage to the rollers.
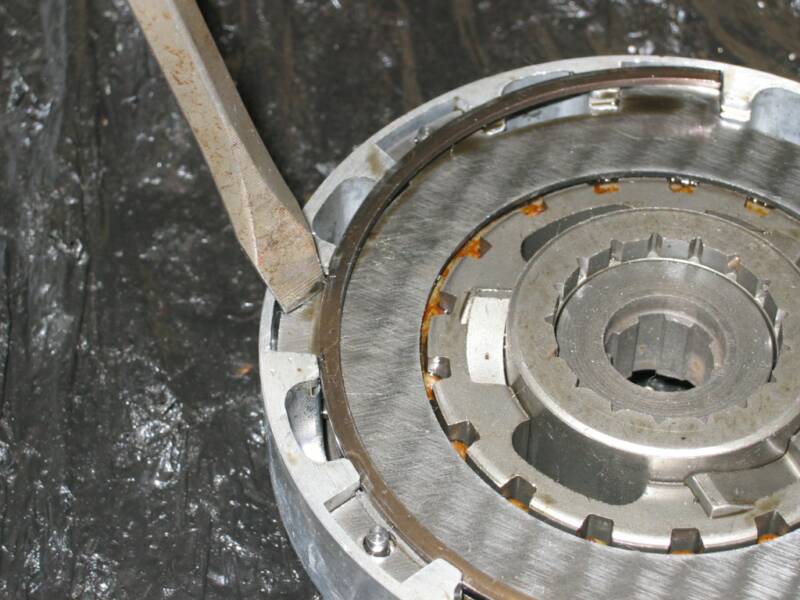
Unscrew the internal housing from the basket evenly, one turn per screw.
If unscrewed unevenly, you can damage the basket and the housing.
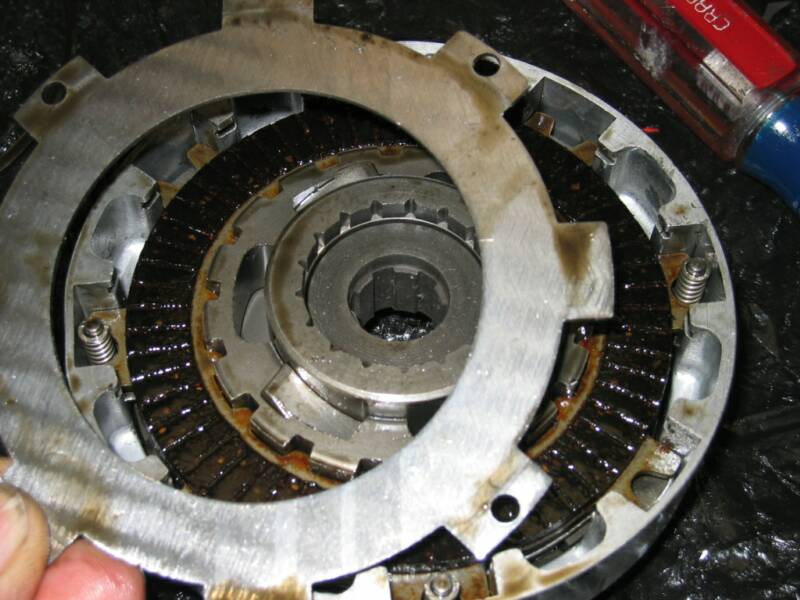
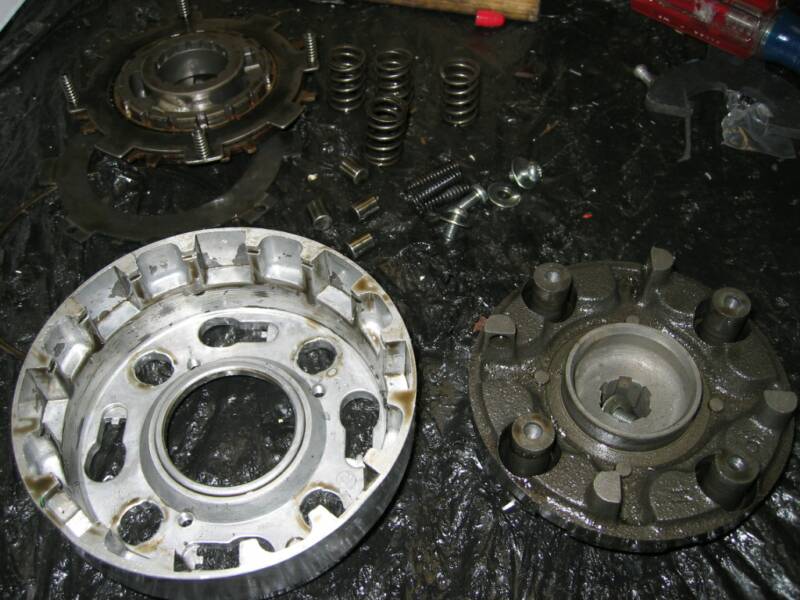
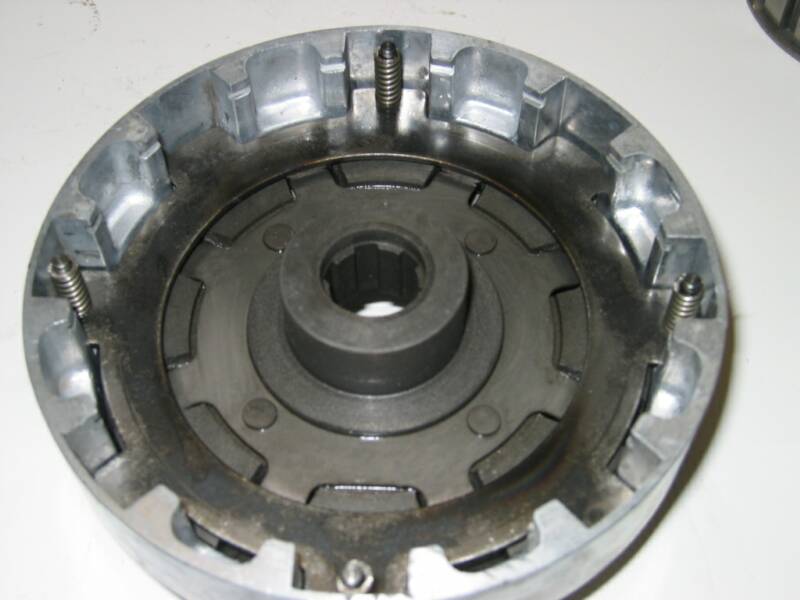
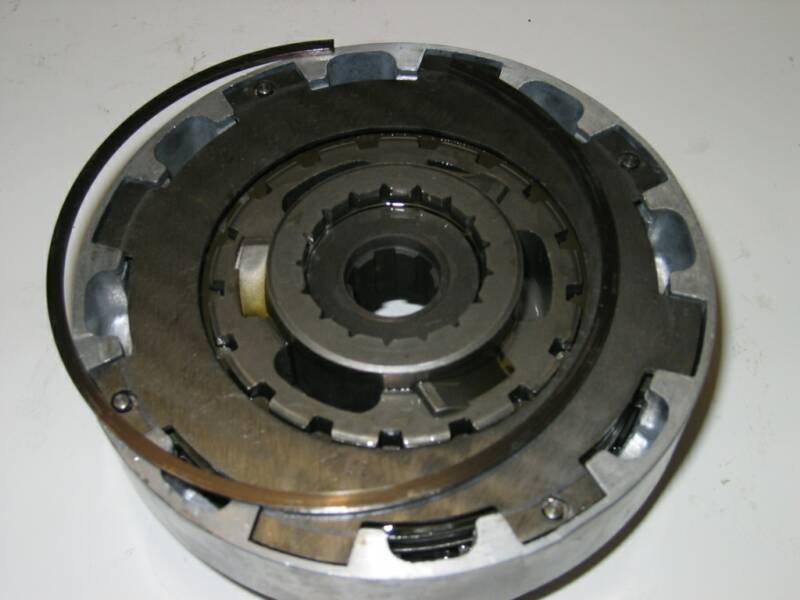
Basket lifted. The smaller springs go between the housing and the basket during assembly.
Clutch disassembly completed.
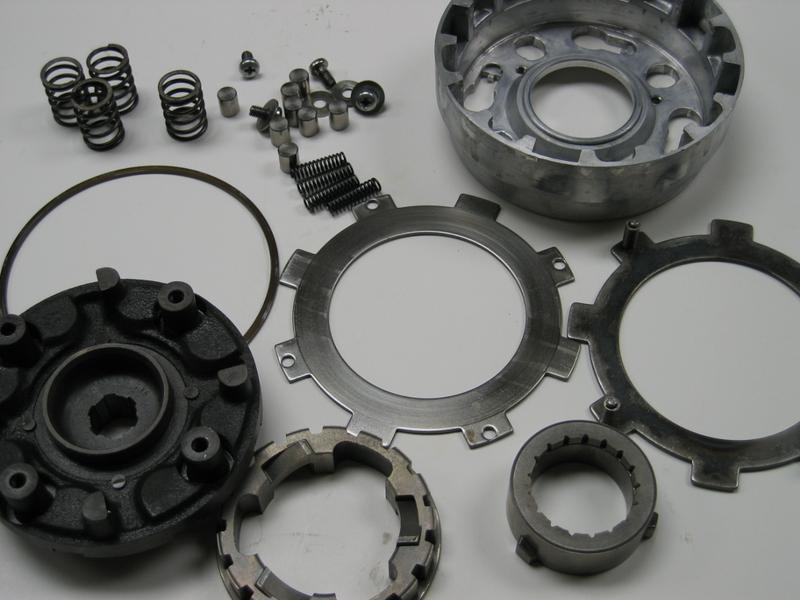

Cleaned Clutch Parts
Inspect all the springs and make sure they are within specs. Inspect Top and bottom Stator plates. Replace if pitted.
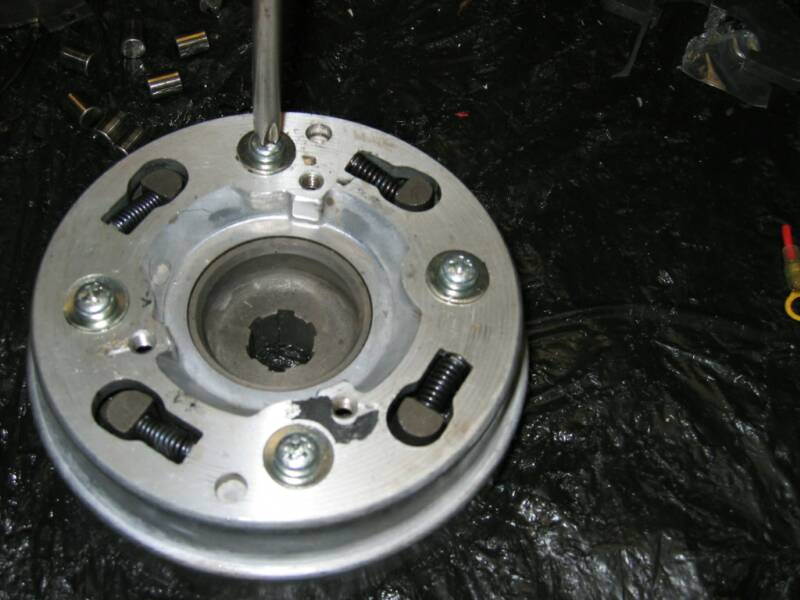
Start assembly by placing the four large springs on the clutch housing.
Install the eight rollers on the clutch housing.
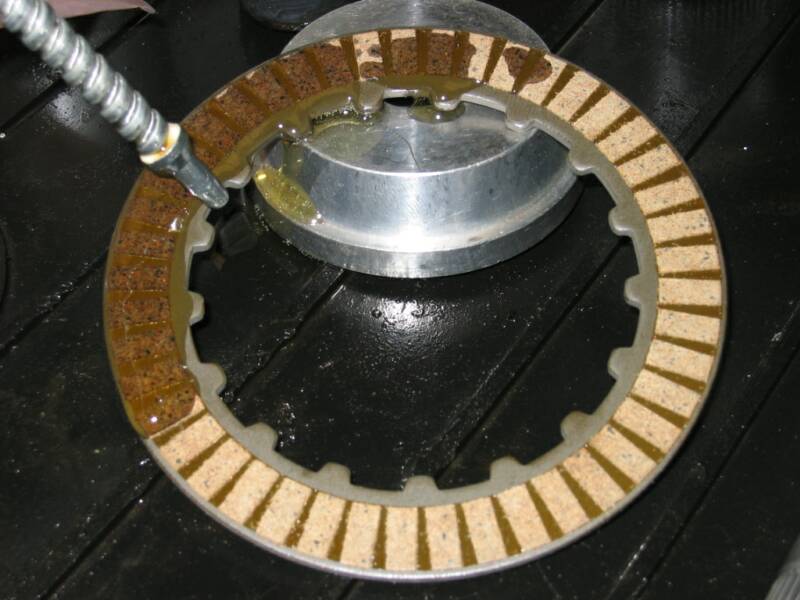
Since this is a wet clutch, use motor oil on all the disks. You don't want the clutch to lockup on first startup.
Next is the outer metal plate. The holes on the outer plate line up with the tabs with small springs.
Press the clutch basket on the housing with springs and start two screws across from each other. Tighten all four screws evenly.
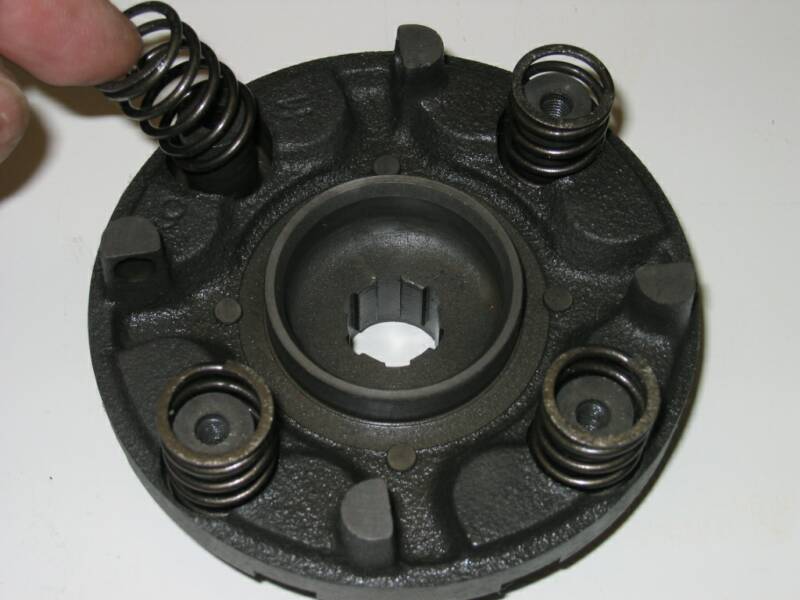
Install four long springs in the slots on the post of the clutch housing. Use a small flat screwdriver to push the springs over the tab on the clutch basket.
The lower stator disk with four posts and four small springs goes on next.
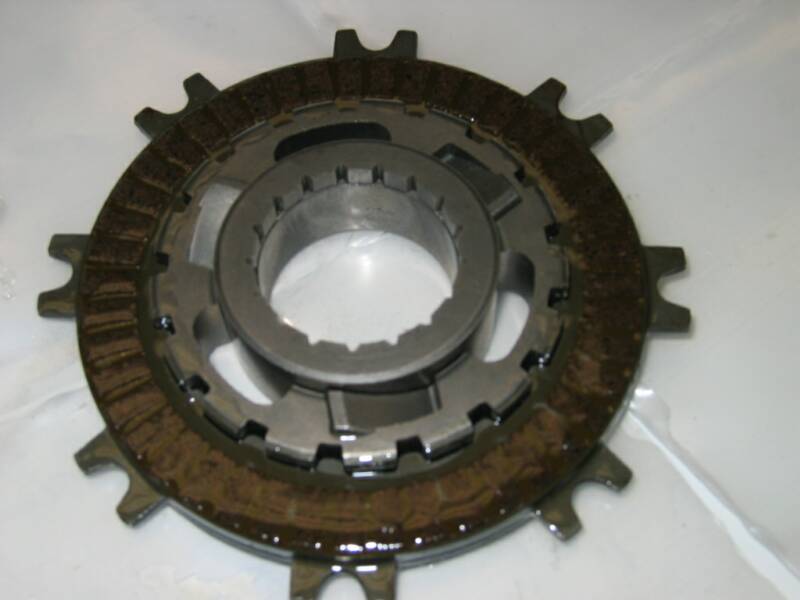
Assemble the disks on the gear assembly. Make sure the clutch disks are oriented properly. Fiber to metal, never fiber to fiber.
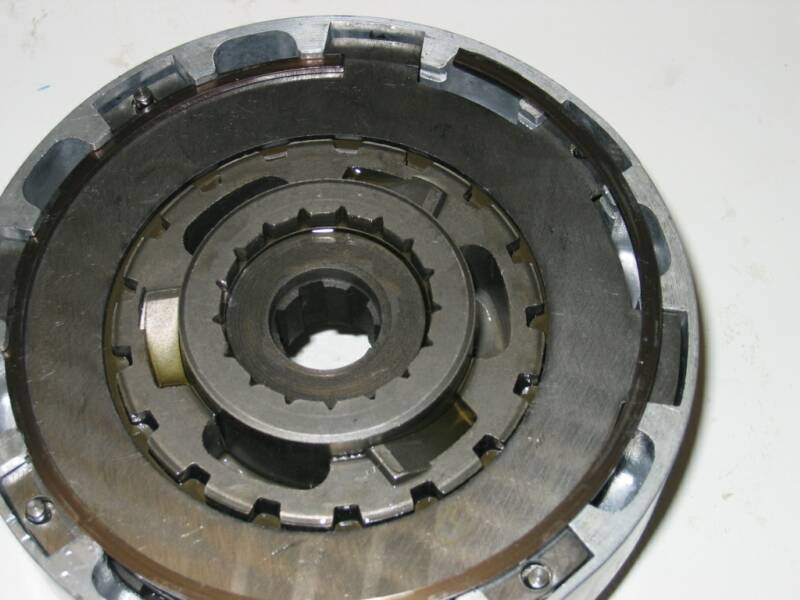
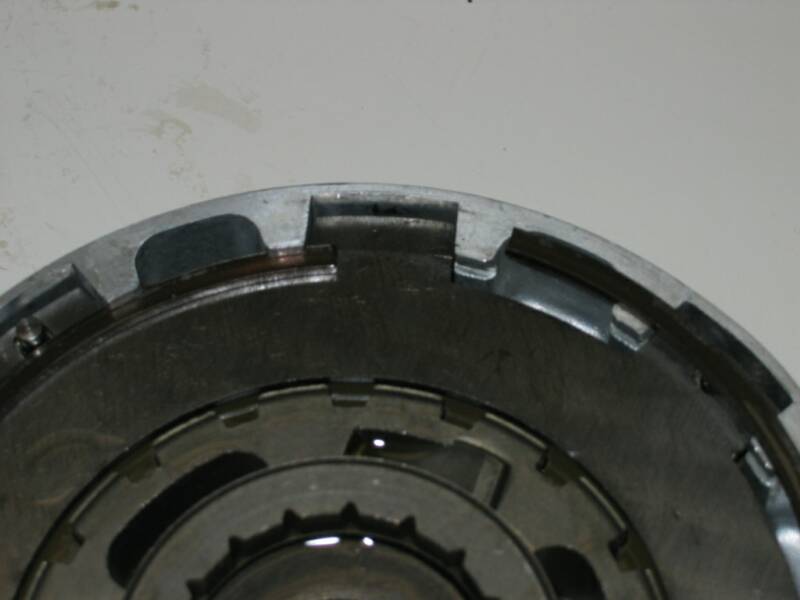
Snap ring is next. Use finger pressure to seat the ring in the groves of the clutch basket.
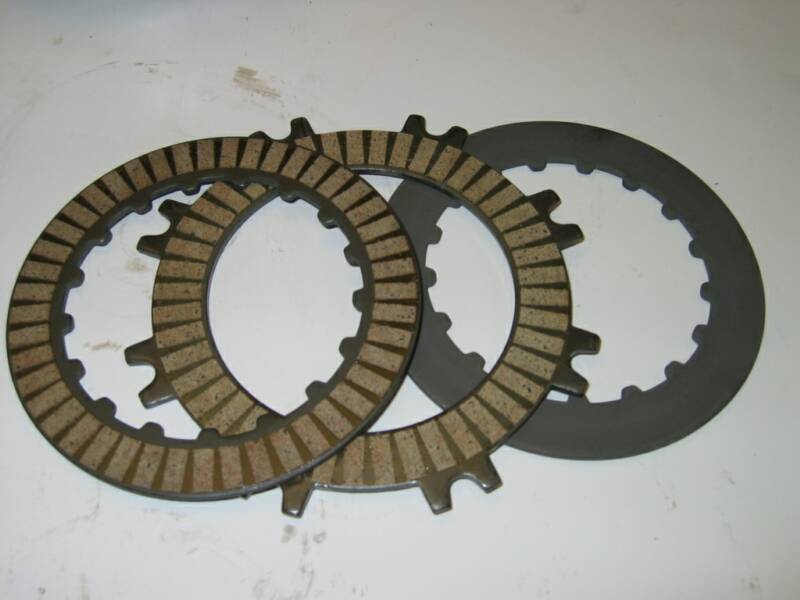
This picture shows three clutch disks. This set up has fiber on both sides of the middle disk and fiber on on only one side of the outer disks.
Place the gear assembly and the clutch disks on the clutch housing.
The snap ring should be centered in one of the square slots.
1
2
3
4
5
6
7
8
9
10
11
12
13
14
15
16
17
18
19
20
21
22
23
24
Tech. Tip:
Measure the Metal Stator plates, depending on the type of clutch, against the factory specifications. Replace if out of tolerances. If the metal plates are within specs., check and make sure they are not warped.
Use a piece of glass and some wet and dry 300 or 400 grit sandpaper to take the sheen off the plates. Never sand the plates while holding them in your hands. I don't recommend sand blasting either. Since you take metal off and weaken the plates by sandblasting.